Add Some Flair to Your Wedding

June 29, 2018

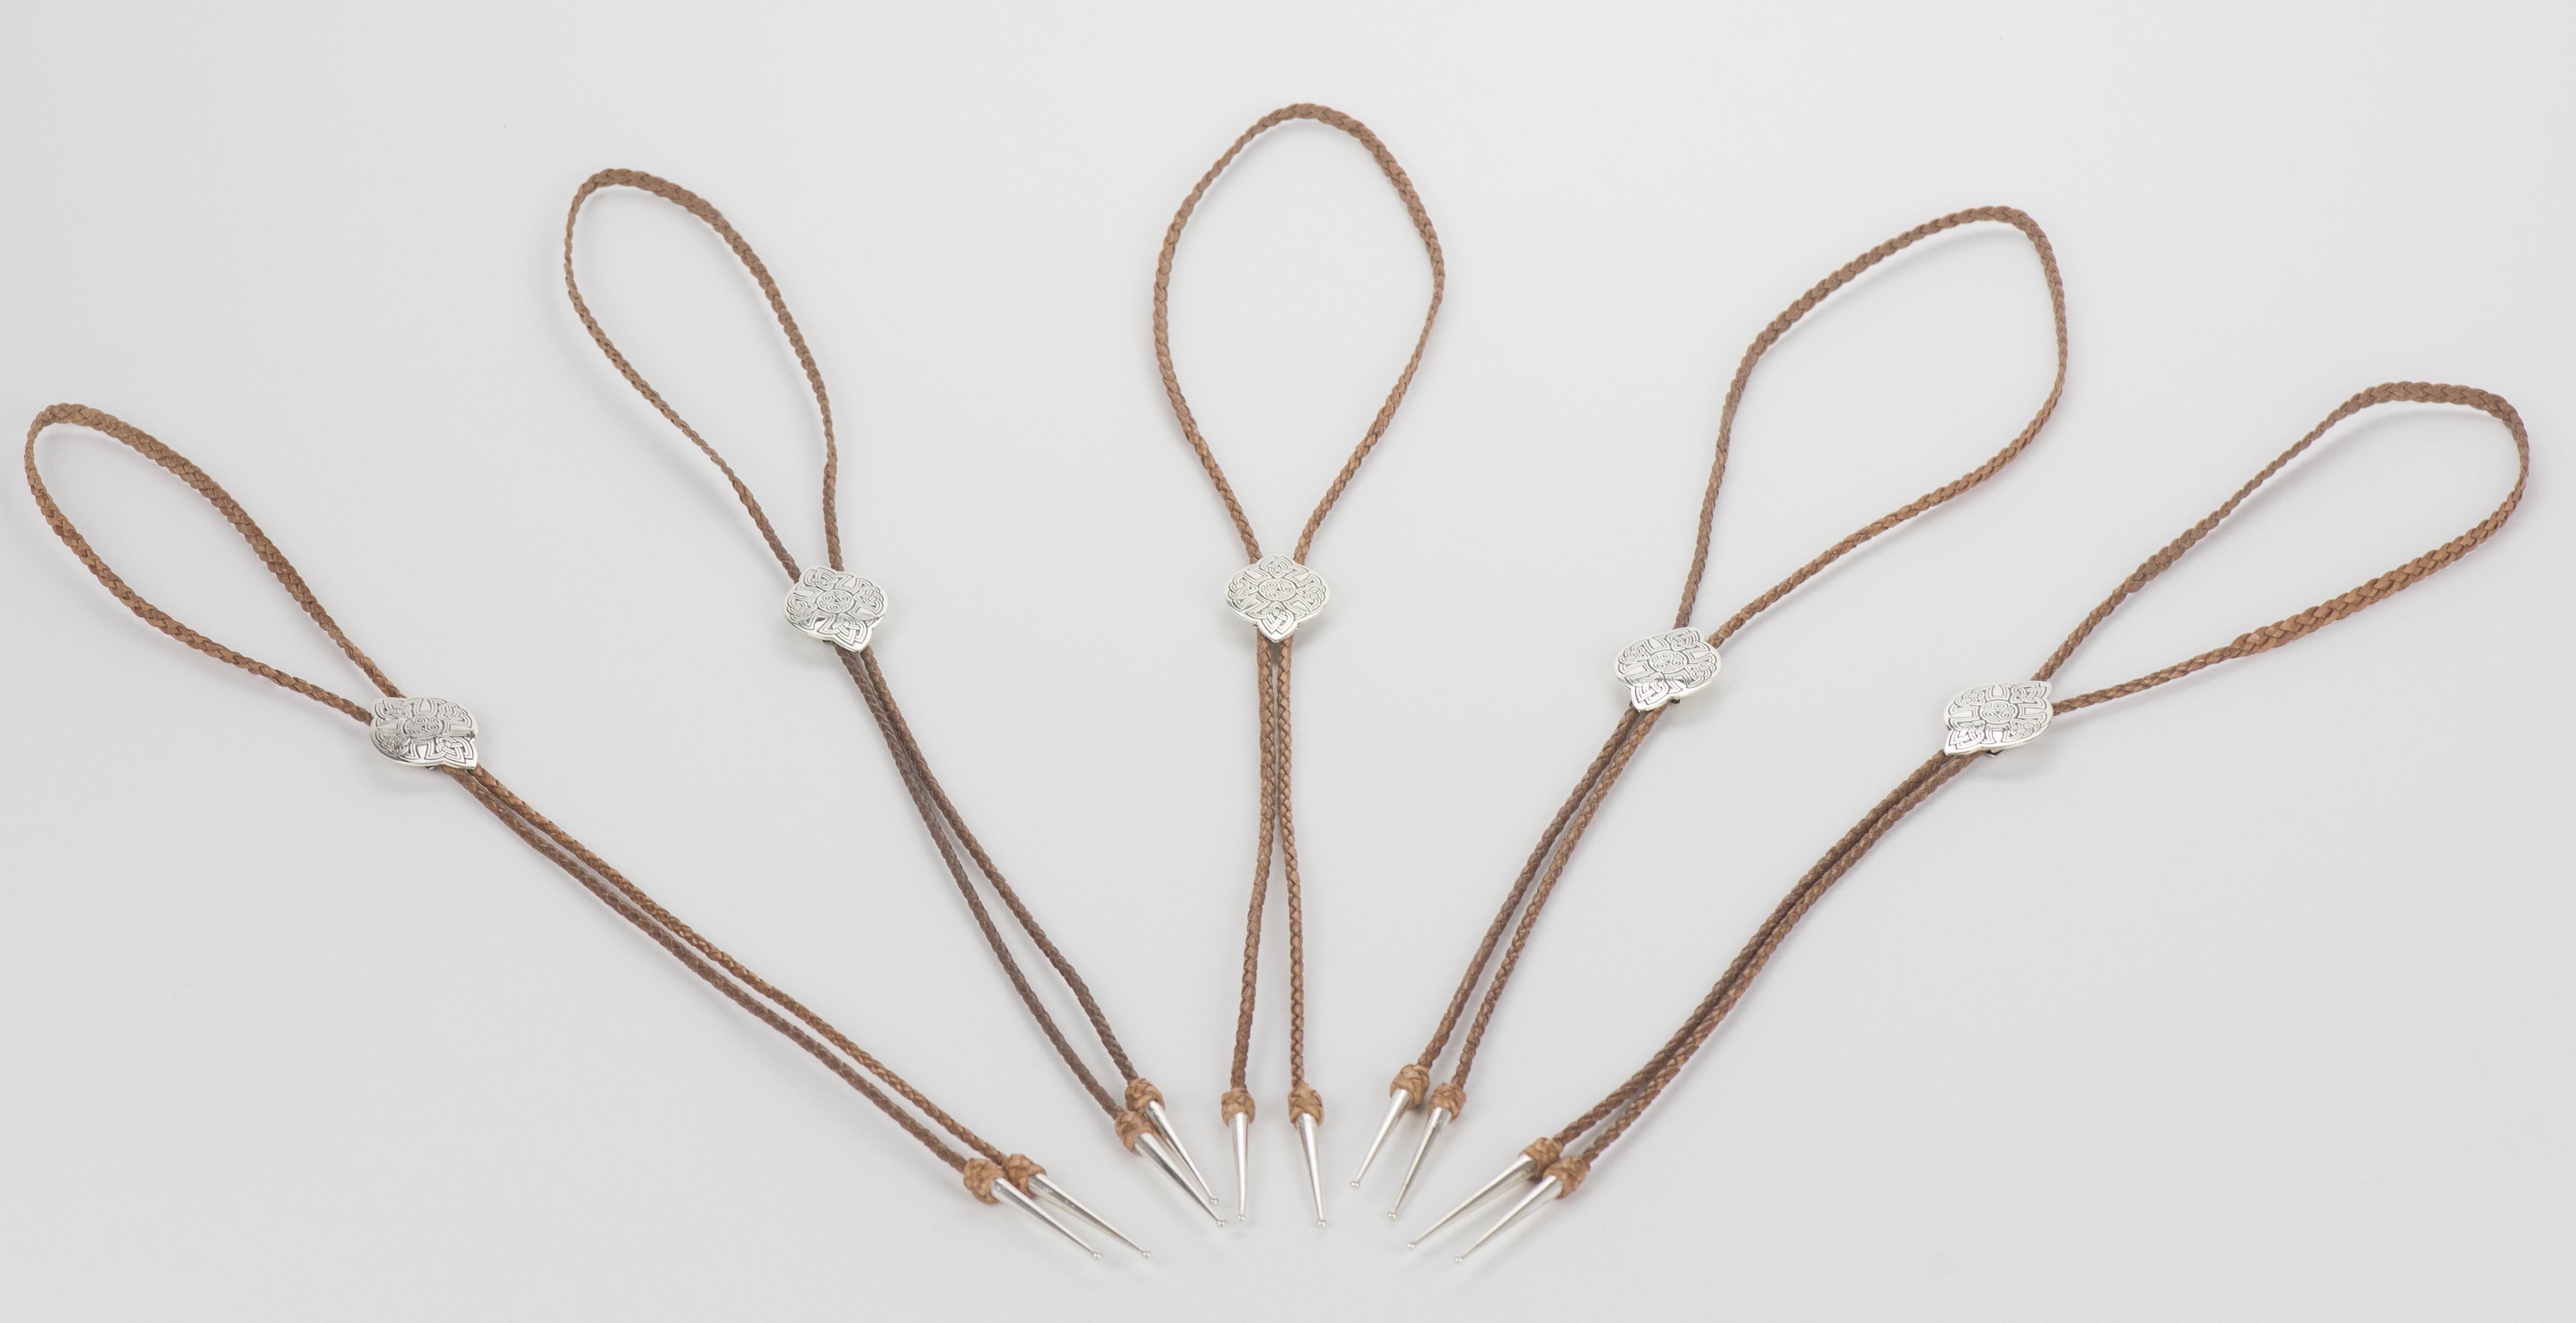
Bolo Ties for Groomsmen


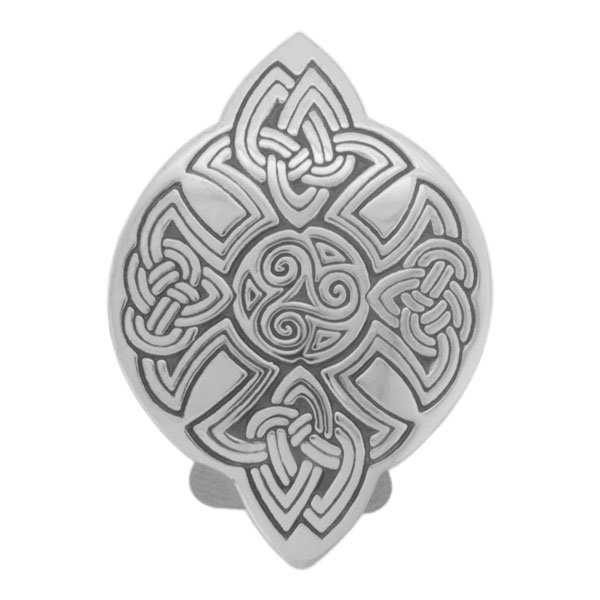
We recently made a set of five bolo ties for the groomsmen in a wedding. Bolo ties are often seen as a western accessory, but in this case, the slides featured the Immortal Strength design, which is part of our Celtic collection.

Looking closely, you can see the Triskele in the center, which symbolizes not only the Trinity, but also the mind, body and spirit. Surrounding the Triskele are four knotted symbols. In many ancient philosophies, the number four represents the physical world. Three and four combined is often the unification of spirit and matter. It is through this unity that strength emerges. What a marvelous symbol for a wedding!


Immortal Strength Bolo Slide


LEARN MORE ABOUT:

Bolo Slides

Celtic Art and Lore


How to Replace a Whip Fall

July 18, 2014

For some people, replacing a whip fall looks intimidating. We are happy to do it for you (See Whip Repair Services), but why not give it a try yourself? The instructions are below:

If a fall has broken to shorter than 12-18 inches, it needs replacing. If it has stretched, it should be replaced when it has become noticeably thinner than the end of the thong. Red hide falls tend more to hold their shape, but break off. White hide falls tend to stretch more but break off more slowly. The kangaroo strands adjacent to the fall may eventually break because of the sharp flexing at this point. The fall should be replaced as soon as the first of these strands breaks.


Fall Replacement Method 1 

If none of the braided strands adjacent to the fall are broken, the old fall may be removed without undoing the hitches.

To do this, attach the main body of the whip to a hook or some other secure anchor, then trim the end of the new fall to a point. Put the eye of the new fall over the old fall and the end of the thong. Grease the new fall with braiding soap or Pecard Leather Dressing.


Attach the main body of the whip to a hook or some other secure anchor, then trim the end of the new fall to a point, put the old fall and part of the thong through the eye of the new fall and grease the new fall with braiding soap or Pecard Leather Dressing


To remove the old fall, put a fid through the eye of the old fall (between the fall and the braid). Using a sharp knife, cut the fall against the fid, taking care not to cut the braid. Pull the old fall out of the hitches.

Feed the point of the new fall through the tunnel left by the old fall. Pull the new fall into place while holding the strand of the final hitch. Put this strand through the eye of the new fall as it is pulled into place. The result should appear as shown below. 

To remove the old fall put a fid through the eye of the old fall between the fall and the braid, and using a sharp knife cut the fall against the fid, taking care to avoid cutting the braid. Pull the old fall out of the hitches. Feed the point of the new fall through the tunnel under the hitches where the old fall was removed, and pull into place, holding the end of the last hitch so it may be put under the eye of the new fall as the latter is pulled up. The result should appear as shown here.


Fall Replacement Method 2

If the strands of the braid next to the fall are broken or badly worn, the hitches and part of the thong must be undone until the shortest strand of the loose ends is about four inches long.

Place the end of the thong through the eye of the new fall as shown below and grease the strands with braiding soap or Pecard Leather Dressing.  

Place the end of the thong through the eye of the new fall as shown to the right and grease the strands with braiding soap or Pecard Leather Dressing


With the top strand on the left, tie a half-hitch around the fall and the other strands in the direction shown and pull tight. (With short strands use pliers to pull the strands tight.)


With the strand on the left, tie a half-hitch around the fall and other strands in the direction shown and pull tight. With short strands use pliers to pull the strands tight.


  Move the remaining strands to the left, leaving any core strands against the fall. Fold the end of the first strand down and hold it against the fall. Taking a second strand pull it tight and tie a second half hitch in the same manner as the first.  

Move the remaining strands to the left, leaving any core strands against the fall, and fold the end of the first strand down and hold it against the fall. Taking a second strand pull it tight and tie a second half hitch in the same manner as the first.


Continue on with the remaining strands of the braid, but after the final strand is hitched, put the end of the strand up and under the eye of the fall.  

Continue on with the remaining strands of the braid, but after the last strand is hitched put the end of the strand up and under the eye of the fall.


Tighten all strands again in sequence from the first to the last, pull the fall securely into place, and then trim the ends of the strands to a uniform length.

Attach a cracker.

Lastly, roll the attachment between two hard surfaces to make it smooth.


Tighten all strands again in sequence from the first to the last, pull the fall securely into place, and then trim the ends of the strands to a uniform length. Lastly roll the attachment between two hard surfaces to make it smooth.

 LEARN MORE ABOUT:

Leather and Braiding Supplies

Attaching a Cracker


Kangaroo Hide Color Changes

May 8, 2014

There have been a few times when our customers wondered why their new kangaroo leather goods were a light tan and not a dark brown. This is understandable when you see a photo of Indiana Jones with his dark brown whip

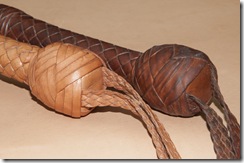
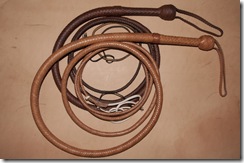
When we receive our kangaroo leather, it is a light tan. Almost immediately the color begins to darken. In the two photos below, the two whips are placed on top of a piece of kangaroo leather that we received a few months ago. You can see in the image how light the skin is.

Compare the skin with the two whips. The lighter whip in the photographs is approximately one year old. The darker whip is approximately ten years old. Both have remained indoors and have not been directly exposed to sunlight.


whipcomparison1

Close up of two whip handles, ages (left to right) one year and ten years.


whipcomparison2

Two whips, ages one and ten years.

We strongly recommend that you do not try to prematurely age your skin. This is a natural substance and excessive trauma on the skin will weaken it. We all know what happens to our skin when we expose it to intense sunlight and heat

LEARN MORE ABOUT:

Braided Leather Goods

Braiding and Leather Supplies


Tell Us About Your Leather Projects

November 1, 2013

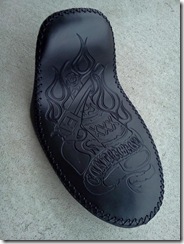
Adam Croft, who uses our lace for his projects, posted a photo of one of his motorcycle seats on our online review for lace.


Croft Leathers Motorcycle Seat

Leather motorcycle seat by Adam Croft. www.croftleather.com


Over the years, many of you have bought lace and kangaroo skins for leather projects. We would love to see what you have done!


Please send a photo of your work to our email address: catalog [at] davidmorgan [dot] com. (Please replace “at” and “dot” with the correct punctuation.) Include in the subject line that it is for our blog. If you have a website where you sell your leather goods, feel free to include that.


We look forward to seeing your work.


The Band John Wayne Would Have Worn

August 9, 2013

In our latest YouTube video, Mike demonstrates how to put an Edge Ridge Hat Band on an Akubra Pilbara hat. American Cowboy magazine chose the Edge Ridge Hat Band for their John Wayne commemorative issue.

We customized this Pilbara with a pinched telescope crease and some brim curl. Please note that we do not bash pre-creased hats like the Pilbara as part of our shaping service. You may wish to watch our other creasing videos to help you learn how to put this shape in a Pilbara yourself.

LEARN MORE ABOUT

Akubra Hats


Adam Winrich Swings by David Morgan

October 5, 2012

Adam Winrich, one of the world’s fastest whipcrackers, stopped by David Morgan in September.

Watch as he demonstrates a brief multiple cracking routine with a pair of black six foot Karaka bullwhips.


LEARN MORE ABOUT:

Karaka Whips


How to Replace a Whip Fall

July 13, 2012

Falls and crackers take the brunt of the wear from whip cracking. Over time, the end of the fall will wear off. When it gets down to 12-18 inches, it needs replacing.

Leather falls also stretch and should be replaced when they have become noticeably thinner than the end of the thong. In addition, the kangaroo strands adjacent to the fall will, in time, break because of the sharp flexing at this point. The fall should be replaced as soon as the first strand breaks.

People often ask the difference between red and white falls. Neither one is better than the other. Red hide falls tend to hold their thickness but eventually break. On the other hand, white hide falls stretch more but need watching to prevent them from getting too thin.

We get many questions on how to replace a whip fall. For whips with the thong strands intact, it’s quite easy! If the strands of the whip are damaged, the process is a little harder, but you can do it with a little patience. Here is a link to the instructions at davidmorgan.com.

If you wish to have us change it for you, you can check out our service here.

Update:

We now have a video that demonstrates a whip fall replacement. Click on the YouTube Icon in the bottom right corner of the screen to see all of our videos.


Lace Cutting Video Now Available

May 25, 2012

Our video demonstrating kangaroo lace cutting is now available on YouTube.


You can find our lace cutters here and our kangaroo skins here.